A Shark vacuum that’s lost suction is a common frustration, but the good news is that most clogs and power drops come from straightforward blockages or maintenance oversights rather than motor failure. Before calling a repair shop or buying a replacement, homeowners should work through a methodical checklist: check the dust cup filter, inspect the motor filter, clear air pathways, examine the brush roll, verify the bin seal, and test for leaks. Many suction problems resolve in under an hour with basic tools and a bit of patience. This guide walks you through each fix so you can restore your Shark vacuum to working order.
Table of Contents
ToggleKey Takeaways
- A Shark vacuum not sucking is usually caused by clogged filters, blocked hoses, or loose seals rather than motor failure, and most issues can be resolved at home in under an hour.
- Clean the dust cup filter and motor filter regularly—tap loose dust out, rinse gently with warm water only when needed, and always air-dry completely for 4–6 hours before reinstalling to avoid motor damage.
- Check for blockages in the hose, air pathways, and all connection points by running your hand along the hose, shining a light inside, and ensuring every seal clicks or fits snugly.
- A tangled brush roll wrapped with hair or pet fur is a common culprit for reduced suction—flip the vacuum over and carefully cut away debris with scissors, then spin the roll by hand to verify it rotates freely.
- If suction doesn’t improve after checking filters, hoses, seals, and the brush roll, internal motor or electrical issues likely require professional repair or warranty assessment.
- Replacement parts like filters ($15–$40), hoses, and brush rolls ($25–$60) cost less than professional repair if the total exceeds 40–50% of a new vacuum’s price and the unit is over 5–7 years old.
Check And Clean The Dust Cup Filter
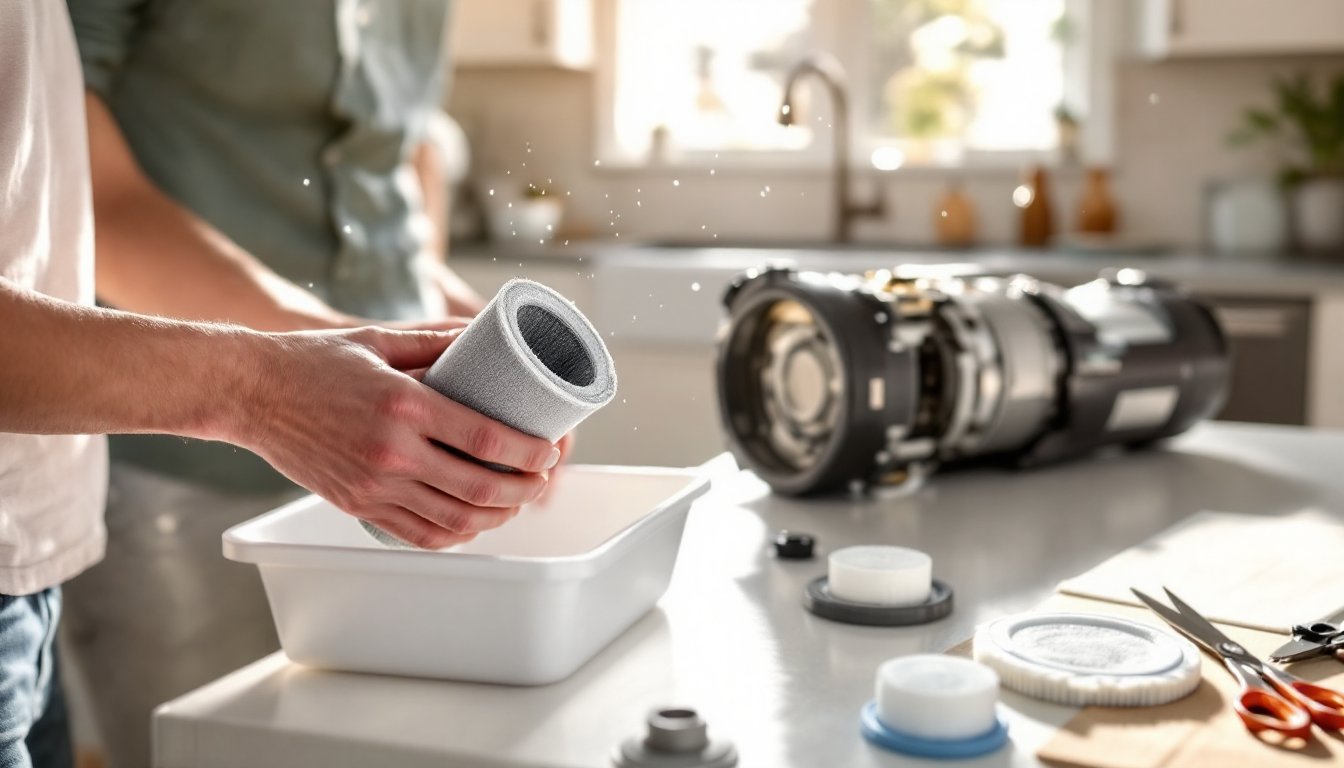
The dust cup filter (also called the main filter or HEPA filter on some models) is the first line of defense against suction loss. When clogged with dust and pet hair, it suffocates airflow before the motor can draw in debris.
Start by removing the dust cup from the back of the vacuum and dump visible debris into the trash. Next, extract the filter, it’s typically a cylindrical or accordion-style cartridge that slides out or twists free. Hold it over a sink or trash bin and tap it firmly against the side: loose dust will tumble out. If it’s visibly caked with a gray film or clumped dust, run warm (not hot) water over the pleats, letting water flow from the top downward. Avoid squeezing or scrubbing the pleats, as this can tear the filter material.
Let the filter air-dry completely, at least 4–6 hours, or overnight to be safe. Never reinstall a wet filter: trapped moisture can damage the motor and void your warranty. If the filter has a permanent ring of discoloration or a sour smell after cleaning, it’s time to replace it. Shark replacement filters cost $15–$40 depending on the model. Once dry and reinstalled, snap the dust cup back in place, ensuring it’s fully seated so no air escapes around the edges. Many Shark models have a audible click or a locking tab that confirms a tight seal.
Inspect The Motor Filter For Clogs
Behind the dust cup sits the motor filter (or pre-filter), a secondary barrier that keeps fine particles from reaching the motor itself. This filter clogs more slowly than the main filter but is easy to overlook during routine maintenance. Locate it by accessing the top or back of the vacuum, consult your model’s manual if unsure.
Remove the motor filter and inspect it for a layer of gray dust or blockage. Unlike the main filter, the motor filter can often be vacuumed clean with a handheld or shop vac to remove surface buildup. If it’s compacted or discolored, wash it gently under warm running water, allow it to air-dry fully, and reinstall it. Skipping this step is common: homeowners clean the main filter and wonder why suction hasn’t fully returned, only to discover the motor filter was the culprit. Replacing a motor filter typically costs $10–$25. Check the filter quarterly if you have pets or live in a dusty area, or every 6–12 months for regular use.
Clear Blockages From The Vacuum Hose And Air Pathways
A kinked, twisted, or debris-clogged hose is one of the quickest ways to kill suction. Start by straightening the hose and running your hand along its length to feel for lumps or blockages. If you spot a kink, warm water can soften the hose: flex it gently to restore shape and allow it to cool before reattaching.
For blockages inside the hose, shine a flashlight through one end to spot clogs. Many are pet hair tangles wrapped around internal ridges. Use a plumbing snake, straightened wire coat hanger, or a thin broom handle to dislodge the clog, pushing gently from the opposite end. Never use excessive force, which can crack the hose. For stubborn blockages, soak the hose in warm water for 15–20 minutes to soften dried dirt, then gently push the clog through.
Next, check all air pathways: the connection between the dust cup and motor, the hose-to-wand joint, and the hose-to-motor coupling. These seams are common leak and blockage points. Blockages are the most common cause of suction loss, so taking time here pays dividends. Tighten or re-seat each connection, ensuring you hear or feel a solid click or snug fit.
Examine The Brush Roll For Tangled Debris
The brush roll (or beater bar) spins at high speed to agitate carpet and lift debris into the airstream. When wrapped with hair, string, or pet fur, it clogs the intake area and restricts airflow, plus it works harder and wears out faster.
Flip the vacuum upside down or access the brush roll from the underside. Most Shark models have a clear cover or a panel secured by clips or screws. Look for hair wrapped around the shaft or bristles: even a thin band of wound hair noticeably reduces suction. Use scissors or a seam ripper to carefully cut away tangled fibers. Avoid pulling or yanking, which can bend the bristles or damage the roller shaft.
While you’re here, inspect the bristles themselves. If they’re bent, frayed, or worn flat, replacement is needed ($25–$50 depending on the model). A worn brush roll won’t agitate debris effectively, so airflow improves but cleaning power suffers. After clearing the roll, spin it by hand to ensure it rotates freely without grinding or resistance. Reinstall the cover and tighten all fasteners so no air leaks.
Verify The Bin Isn’t Full Or Improperly Sealed
This sounds obvious, but a full dust cup or loose bin seal is responsible for more lost suction calls than homeowners care to admit. Many Shark models include a full-dust indicator light or marked fill line. If the bin is at or above that line, empty it even if it doesn’t look “full.” Compressed dust takes up less visible space, and overfilled bins choke airflow.
After emptying, inspect the rubber gasket or foam seal around the cup-to-motor connection. Look for cracks, hardening, or compression. A degraded seal lets air bypass the filters, tanking suction even when filters are clean. If the seal looks dry or brittle, replace it ($5–$15). While the bin is off, wipe the sealing surface on both the cup and the motor housing with a dry cloth to remove dust and debris that might prevent a tight seal.
Reinstall the cup and listen for an audible click or feel for resistance: this confirms a secure seal. On some models, you’ll need to twist slightly to lock it in place. A loose bin is sneaky, suction appears to work for a minute or two, then drops suddenly as the seal shifts during use.
Test Seals And Check For Air Leaks
Even small air leaks around hose connections, wand seams, or the dust cup can noticeably reduce suction. Shark vacuums rely on a sealed system, so even a quarter-inch gap matters. Start by reassembling the vacuum with all filters installed and the dust cup seated.
Turn on the vacuum and slowly move your hand around all visible seams and connection points. You’re feeling for escaping air, which feels like a cool breeze. Common leak spots include where the hose twists onto the motor housing, where the wand inserts into the hose, and the edges of the dust cup. If you detect a leak, turn off the vacuum and re-tighten or re-seat that connection. Hose connections often have a ridge or thread: a quarter-turn tightening sometimes restores the seal.
For persistent leaks, wrap the connection point with plumber’s thread seal tape (also called Teflon tape) before reinserting. This low-cost tape ($2–$4) fills micro-gaps and is commonly used in vacuum repair. Test again by hand. If suction doesn’t improve, the seal or coupling itself may be damaged and require replacement. Professional maintenance checklists include this step as part of seasonal vacuum care. Document which connections needed tightening: they tend to loosen over time with regular use.
When To Replace Parts Or Call For Professional Help
If you’ve completed all the checks above and suction remains weak, the issue likely involves internal motor or electrical components. Shark vacuums are generally user-serviceable for filters, hoses, brush rolls, and seals, but replacing motors, circuit boards, or bearings typically requires professional help.
Replacement filters, hoses, and brush rolls are widely available online or at retailers and range from $15–$60 each. Compare the cost of parts against the vacuum’s age and original price. If repairs exceed 40–50% of replacement cost and the vacuum is over 5–7 years old, buying a new unit often makes financial sense. Shark warranty coverage (typically 5–7 years depending on the model) may cover motor or electrical failure: check your documentation or Shark’s customer service.
Expert home improvement guides emphasize that some fixes are worth attempting yourself, while others benefit from professional assessment. If you’re not confident dismantling the motor housing or uncomfortable with electrical components, contact a local appliance repair service or Shark’s warranty support. A repair technician can diagnose motor or switch issues and quote replacement costs. Summarizing: exhaust the simple fixes first, invest in affordable consumables like filters and hoses, and know when to call a professional to avoid damage and wasted time.